



Good cacao does not start only with the origin. Preparation decides whether your cacao tastes thin, bitter and flat or creamy, round and aromatic.
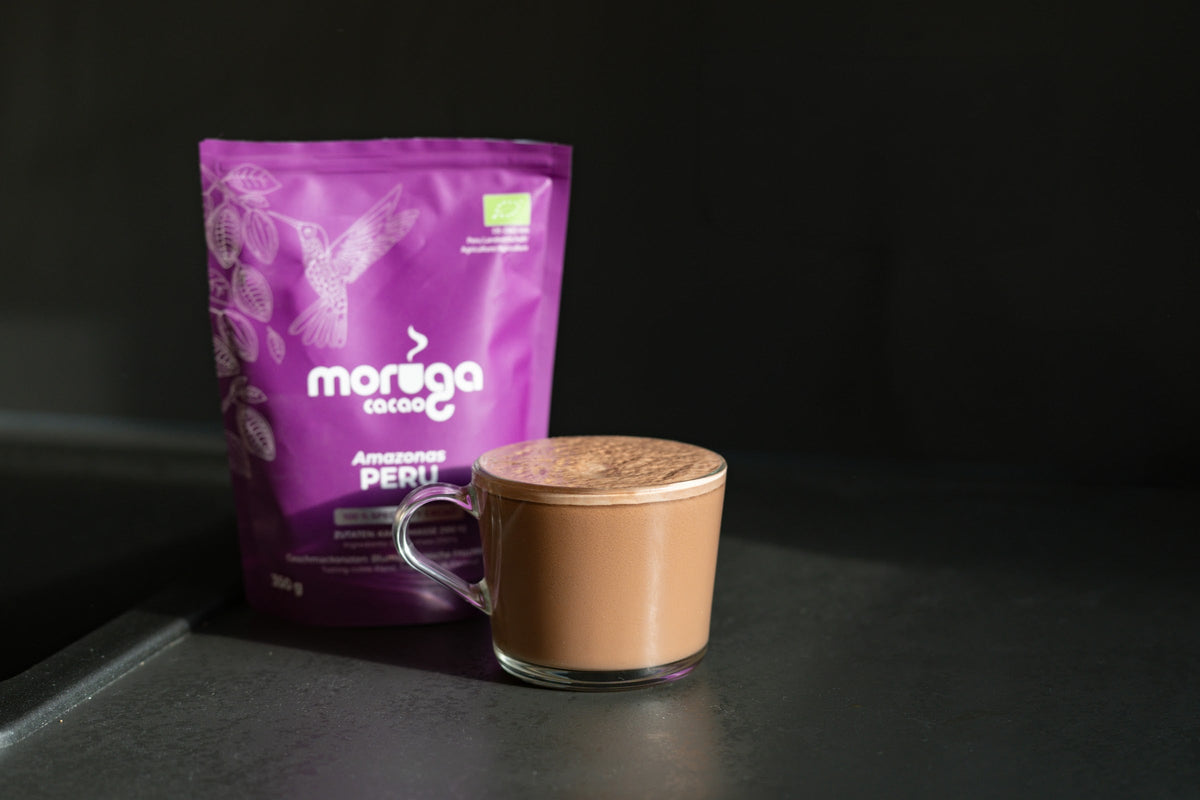
Moruga uses 100% cacao without sugar, milk powder or flavoring. That means you control taste, sweetness, creaminess and strength. It also means the cacao should dissolve and emulsify properly.
If you are still choosing an origin, compare the current range on Moruga cacao varieties. For trying several profiles, use the Starter Kit.
If you want cacao specifically for a conscious ritual, read buy ceremonial cacao. If you want to understand lab values and heavy metals before buying, see heavy metals in cacao and Moruga lab tests.
The simple base
For a normal cup, start with 15 to 25 g cacao. For a more intense ritual, some people use more, but for daily use a smaller amount is often more pleasant.
- 15 g: light, everyday-friendly, good entry point.
- 20 to 25 g: fuller, creamier, stronger in flavor.
- 30 g or more: more intense; approach slowly.
Add hot water, but avoid boiling liquid in a closed blender. Many people like a drinking temperature around 60 to 70 degrees Celsius.
Preparation in a blender
The blender creates the creamiest result. Add cacao, hot water and optionally some oat drink or another plant drink, then blend briefly until smooth and foamy.
Important: do not blend boiling liquid in a sealed blender. Heat can create pressure. Start carefully, follow your device's safety instructions and use a slightly lower temperature.
This method works especially well for a morning routine if you are testing cacao instead of coffee. Read more in cacao instead of coffee.
Preparation with shaker or thermos bottle
Shaking works well if the bottle seals tightly and is suitable for hot drinks. Add cacao and hot water, close carefully and shake strongly.
Hot liquids can create pressure, so open carefully and use only containers designed for this kind of preparation. For a simple setup, use the Moruga Starter Kit or our cacao preparation accessories.
Preparation with a milk frother
An electric handheld milk frother is practical if you do not want to use a blender. Start by mixing the cacao with a small amount of hot water until smooth, then add more water or plant drink and foam it.
Water, plant drink and sweetness
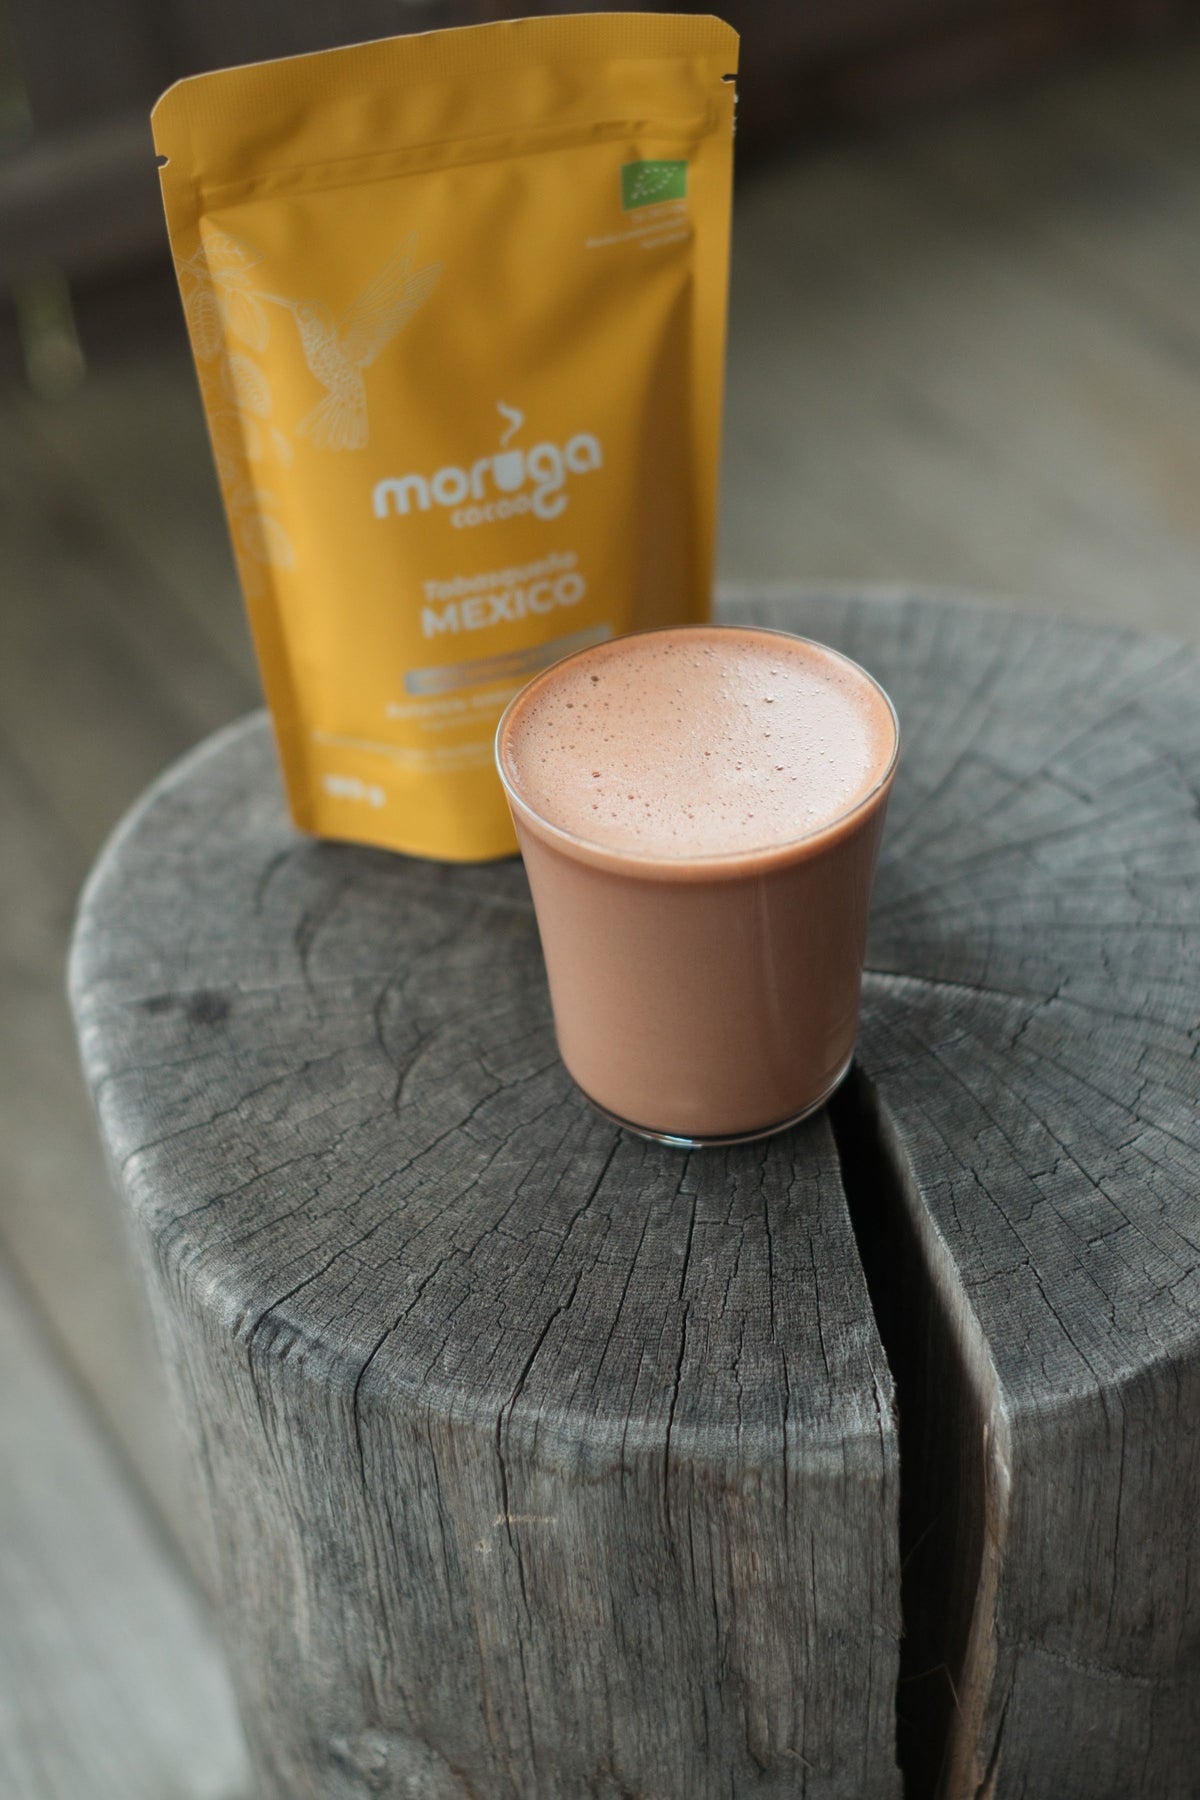
You can drink Moruga Cacao with water only. That shows the flavor of the origin most clearly. For more creaminess, a mix of water and oat drink works very well.
If you want sweetness, choose your own: date, honey, maple syrup or nothing. 100% cacao gives you that freedom. For the ingredient question, read pure cacao without sugar.
Which origin fits which preparation?
Milder, rounder origins work especially well for daily routines. Stronger or spicier origins can be more interesting when you drink cacao slowly and intentionally. Because origins and availability can change, the cacao varieties overview is the best place to compare.
Common mistakes
- Not blending enough: cacao needs movement so water and cacao butter come together.
- Using too much heat: very high temperatures can taste more bitter and can be risky in a blender.
- Using too little cacao: a very thin cup can taste watery.
- Expecting supermarket hot chocolate: 100% cacao is more intense and less sweet.
Conclusion
The best preparation method is the one you actually use. Blender, shaker, milk frother and whisk can all work. What matters is that the cacao melts, emulsifies and fits your routine.
Next steps: compare Moruga cacao varieties, try the Starter Kit, or read how to buy 100% cacao.